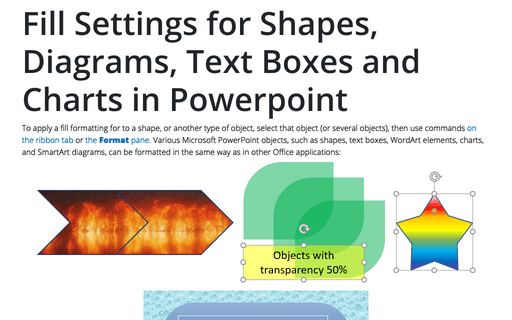
Fill Settings for Shapes, Diagrams, Text Boxes and Charts in Powerpoint
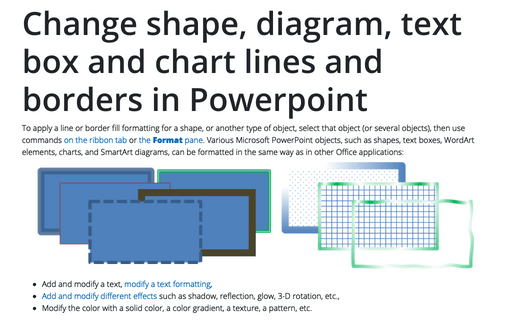
- Add and modify a text, modify a text formatting,
- Add and modify different effects such as shadow, reflection, glow, 3-D rotation, etc.,
- Modify the color with a solid color, a color gradient, a texture, a pattern, etc.
Like many Microsoft Office features, commands for object formatting are duplicated on Format tabs and Format panes (see how to open the Format pane below). The most frequently used commands are located on the tabs, but the complete set is located on the appropriate pane.
Note: The fill options are unavailable for pictures on the Picture Format tab, but you can choose some fill formats in the Format Picture tab. It is applicable when an image is cropped, scaled, or formatted so that there is a space between the image and its borders.
See also how to format tables in PowerPoint.
Fill settings on the ribbon tab
On the Shape Format tab (or SmartArt Format tab, Chart Format tab), in the Shape Styles group, click the Shape Fill dropdown list to choose a fill type from the color picker:
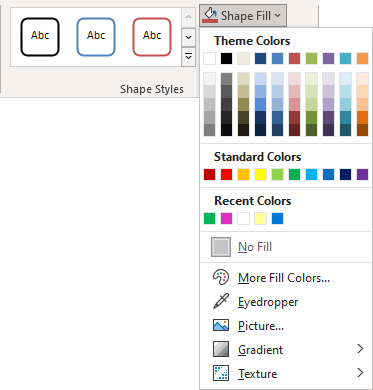
- Select one of the six shades of each of the 10 theme colors in the Theme Colors palette. Colors in this palette depend on the current Theme.
- Select one of the 10 standard colors available in all Microsoft documents in the Standard Colors palette, regardless of the theme. The colors in this palette are the same on all computers.
- Select any of the non-standard colors you have used recently if there are any in the Recent Colors palette.
- Click No Fill to make the object transparent.
- Click More Fill Colors... to use non-theme colors (see how to apply a solid color for more details).
- Use Eyedropper to choose the color from any other object on the slide. To do so, follow the next steps:
1. Click the Eyedropper. The cursor changes to the shape of an eyedropper.
2. Click any element on the slide to select that color:

- Click Picture... to insert a picture as a texture for the selection:

- From the Gradient list:
- Choose No Gradient to remove gradient filling,
- Select the desired gradient style from the Light Variations or Dark Variations:
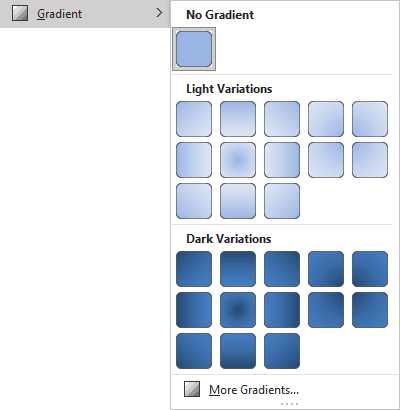
- Select More Gradients... to open more gradient options. See more about how to work with gradients.
- From the Texture list, choose any of the 24 predefined textures:

Or click More Textures... to open the Format *** pane with more fill options. See more about how to use a texture fill.
Fill settings in the Format pane
To format an object in PowerPoint, select the object or several objects, then do one of the following:
- Right-click the selection, then choose Format Shape..., Format Picture..., even Format Chart Area..., Format Data Series..., etc. in the popup menu:
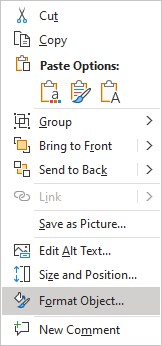
- On the Home tab, in the Drawing group, click the dialog box launcher:

On the Format Shape (Format Picture, Format Chart Area, Format Data Series, etc.) pane, on the Shape Options tab, in the Fill & Line group, in the Fill section, choose the one you need:
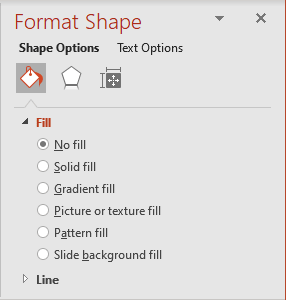
- The No fill option makes the object transparent. Thus, all objects located under the current object will be visible, or the background will be visible. This option is widely used for Text Boxes:

The No fill option also is used to clear the object fill formatting.
- The Solid fill option allows choosing the Color and its Transparency:

- Click the Color button to choose the color you prefer to fill the selected object (objects). A solid color is a good choice for readability:

- Move the Transparency slider to adjust the color transparency, or set a specific transparency percentage:

Note: By default, fill colors are opaque (other background formatting does not show through). A transparency setting of 100% makes the fill color invisible, while the default value for an opaque color is 0%.
- Click the Color button to choose the color you prefer to fill the selected object (objects). A solid color is a good choice for readability:
- The Gradient fill option is used to add an accent to an object. Whenever one color gradually fades into another color, such a transition is called a gradient. In real life, we rarely see and use solid colors; almost all the colors around us are gradients of one or more colors. Gradients are often used on large shapes, logos, and backgrounds:
 or
or

See how to work with gradients for more details.
- The Picture or texture fill allows one of the following:
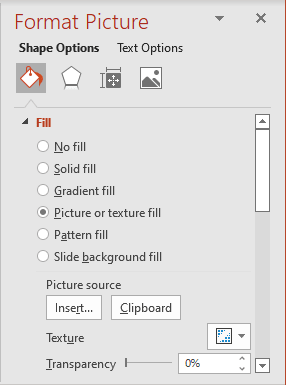
- Insert a picture from any graphic file from different sources by clicking the Insert... button.
- Insert any graphic object such as a picture, SmartArt, chart, diagram, etc., from the Clipboard. For example, predefined SmartArt object text:

- Choose any of the predefined textures from the Texture dropdown list. It is the same Texture list as in the ribbon tab:

You can select from various textures, including fabric, marble, granite, wood grain, and Formica-like textures in various colors. See how to use a texture fill.
- The Pattern fill option allows using one of 48 simple patterns with different Background and Foreground colors:

- The Slide background fill option allows using the same fill as the current background.
There is only one minor difference between a No fill and a Slide background fill: if there are any objects behind the object, the object:
- hides them if the Slide background fill option is selected,
- shows them if the No fill option is selected:

Note: Be careful! In some cases, the Slide background fill option does not mean that you will see the slide background through other objects.. For example, if the Gradient fill is selected for the background with the Path type, PowerPoint just applies the same gradient format to the object. As a result, you see two different gradient fills with the same settings applied to different objects:

