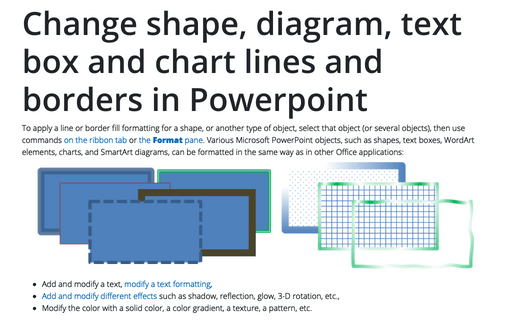
Change shape, diagram, text box and chart lines and borders in Powerpoint
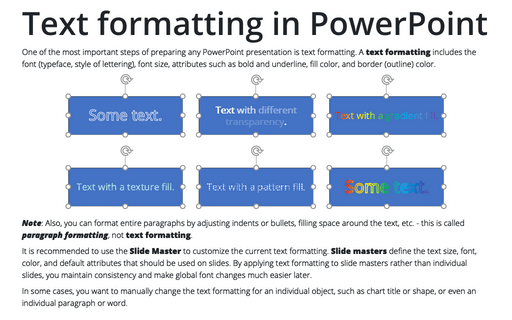
- Add and modify a text, modify a text formatting,
- Add and modify different effects such as shadow, reflection, glow, 3-D rotation, etc.,
- Modify the color with a solid color, a color gradient, a texture, a pattern, etc.
Like many Microsoft Office features, commands for object formatting are duplicated on Format tabs and Format panes (see how to open the Format pane below). The most frequently used commands are located on the tabs, but the complete set is located on the appropriate pane.
Line and Border formatting using the ribbon tab
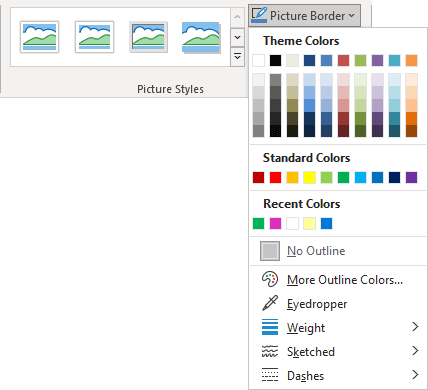
To apply a border formatting for a picture, on the Format Picture tab, in the Picture Styles group, click the Picture Border dropdown list:
To apply an outline formatting for shapes and other objects, on the Format Shape tab (or SmartArt Format tab, Chart Format tab), in the Shape Styles group, click the Shape Outline dropdown list, then do any of the following:
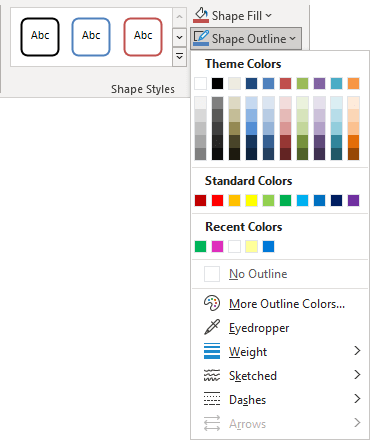
- Select a different color from the Theme Colors palette. Colors in this palette depend on the current Theme.
- Select one of the 10 standard colors available in all Microsoft documents in the Standard Colors palette, regardless of the theme. The colors in this palette are the same on all computers.
- Select any of the non-standard colors you have used recently if there are any in the Recent Colors palette.
- Click No Outline to hide the object outline.
- Click More Outline Colors... to use non-theme colors (see how to apply a solid color for more details).
- Click Eyedropper to choose the color from any other object on the slide in the same way as for the object filling.
- From the Weight list, select the line weight you prefer:
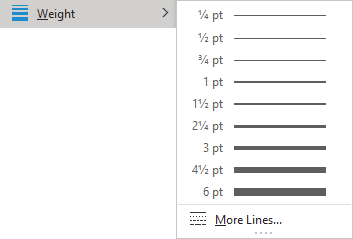
Or select More Lines... to open the Format pane with more options for outline width, compound type, etc.
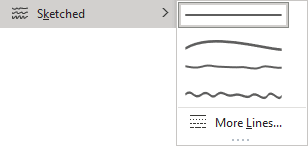
- From the Sketched list, select the desired line type, or click More Lines... to open the Format pane with more options:
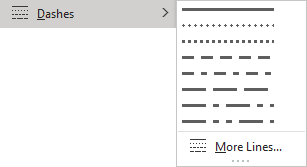
- From the Dashes list, select the desired dash type, or click More Lines... to open the Format pane with more options:
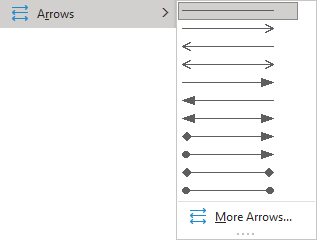
- From the Arrows list (available for lines only), select one style you prefer, or click More Arrows... to open the Format pane:
Line and Border formatting using the Format pane
To format an object in PowerPoint, select the object or several objects, then do one of the following:
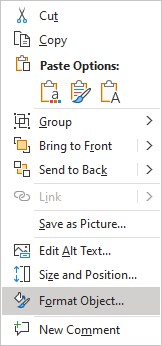
- Right-click the selection, then choose Format Shape..., Format Picture..., even Format Chart Area..., Format Data Series..., etc. in the popup menu:
- On the Home tab, in the Drawing group, click the dialog box launcher:

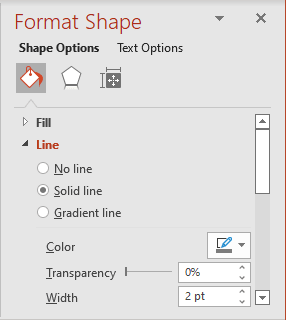
On the Format Shape (Format Picture, Format Chart Area, Format Data Series, etc.) pane, on the Shape Options tab, in the Fill & Line group, in the Line (Border) section, choose the one you need:
 or
or

- The No line option hides an object border.
- The Solid line option contains the following options:
 or
or

- The Color and its Transparency - see how to apply a solid color,
- The Width of the border,
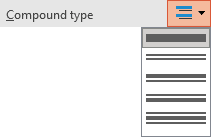
- The Compound type list contains a predefined set of parallel lines that comprise the overall line and their relative thicknesses:
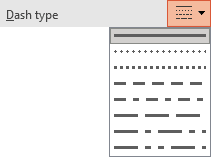
- The Dash type list contains the predefined styles of a line (solid, dashed, dotted, etc.):
- The Cap type list allows to choose one of the styles for the ends of the line (applicable to lines only):

- The Join type list allows to choose the style for the corners:

For example:

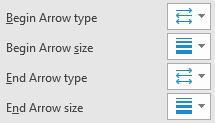
- The Arrow settings contain different variants for types and sizes of the arrow heads (applicable to lines only):
- The Gradient fill option allows to create a gradient fill of the object border.
For example:

See how to work with gradients for more details.
