How to make a custom background for the PowerPoint slide
This tip is about creating a custom background for the PowerPoint slide.
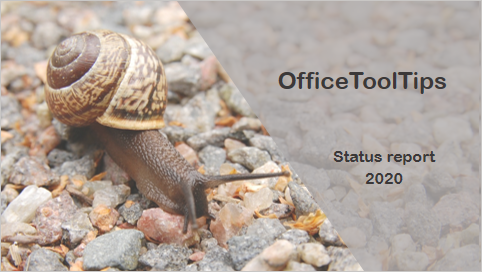
To create a slide like the one above, do the following:
1. Add some shapes to the zone with text and group them (see How to create simple picture designs for PowerPoint slides), for example:

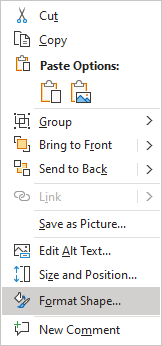
2. Right-click on the grouped shapes and choose Format Shape... in the popup menu:
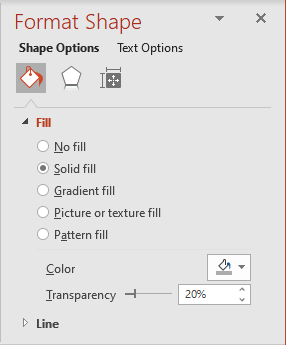
3. On the Format Shape pane, on the Shape Options tab, in the Fill & Line group:
- In the Fill section, choose Solid fill and then select Color and
Transparency as you prefer:
- In the Line section, select No line:
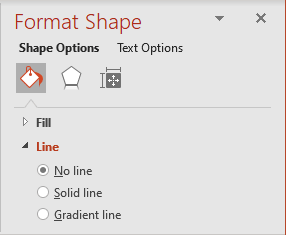
In this example, the group of shapes looks like:

4. To add a background picture, do one of the following:
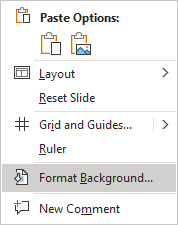
- Right-click on any empty space in the slide and choose Format Background... in the popup menu:
- In the Design tab, in the Customize group, click the Format Background button:

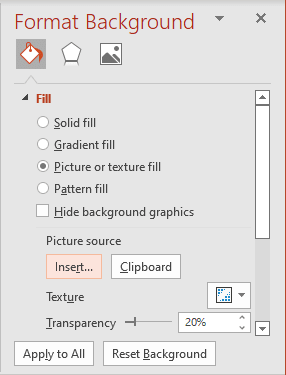
5. On the Format Background pane, in the Fill & Line group, in the Fill section:
- Select Picture or texture fill,
- Click the Insert... button:
- In the Insert Pictures dialog box, choose the picture location, select the picture file, and then click Open or Insert:

Add any other adjustments you would like.
See also this tip in French: Comment créer un arrière-plan personnalisé pour la diapositive PowerPoint.

