How to create a magnifying glass and apply the magnifier effect to the picture


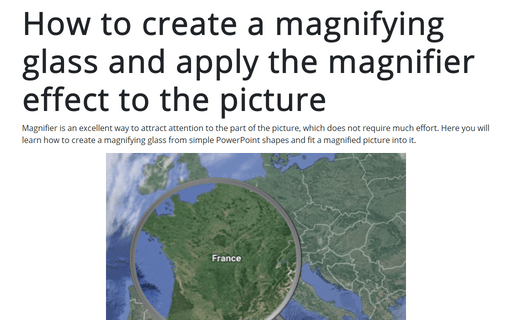
To create a picture like the one above, do the following:
1. Add a background picture
Add a picture to the slide that should be shown as a background picture, position, and format it. See also How to imitate the magnifier effect for the picture.
2. Create shapes similar to a magnifying glass
2.1. On the Insert tab, in the Illustrations group, click the Shapes button:

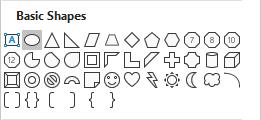
2.2. In the Shapes drop-down list, in the Basic Shapes group, choose Oval (see How to create an equilateral triangle, a regular square, and other regular polygons in PowerPoint):
2.3. In the Shapes drop-down list, in the Lines group, choose Line:

2.4. Position both shapes to look like a magnifying glass:

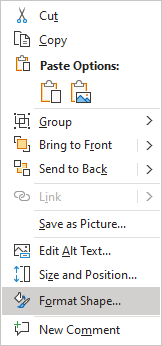
2.5. Select both shapes, right-click on the selection and choose Format Shape... in the popup menu:
2.6. On the Format Shape pane, on the Shape Options tab:
- In the Fill & Line group:
- In the Fill section, choose No fill:
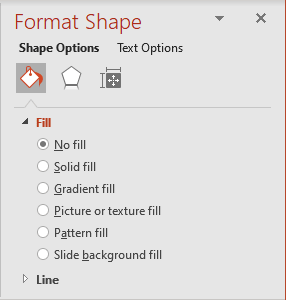
- In the Line section, choose Solid line and then:
- Select the Color you prefer,
- Select the Width you prefer:

- In the Fill section, choose No fill:
- In the Effects group, in the 3-D Format section:
- Choose the Top bevel you prefer:

- Select any other effect you prefer.
- Choose the Top bevel you prefer:
The shapes will look like a magnifying glass, for example:

Note: To simplify the following work with these shapes, group them.
3. Create a picture that a magnifying glass will show
3.1. Select the oval shape, right-click on it and choose Format Shape... in the popup menu.
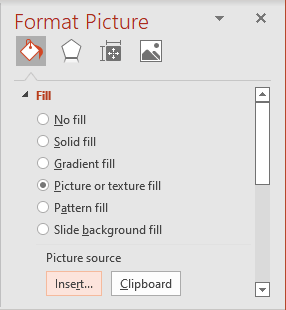
3.2. On the Format Shape pane, on the Shape Options tab, in the Fill & Line group, in the Fill section:
- Choose Picture or texture fill,
- Click on the Insert... button:
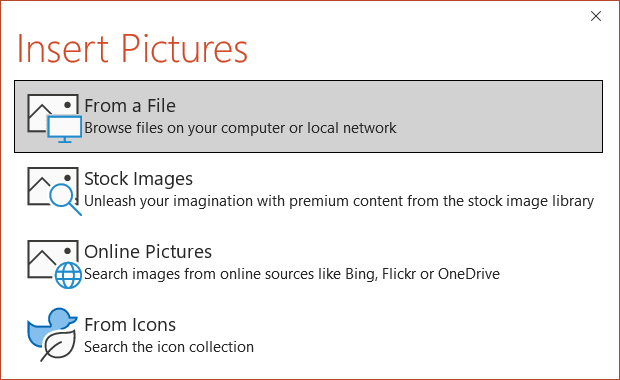
- In the Insert Pictures dialog box, choose the picture location, select the picture file, and then click Open or Insert:
It can be the same picture used for the background or another.
For the first example, another picture was used.
For the second example, was used the same picture:

3.3. If it is necessary, format the picture:
On the Format Shape pane, on the Shape Options tab, in the Fill & Line group, in the Fill section:

Add any other effects you like.
