How to position notes following a table

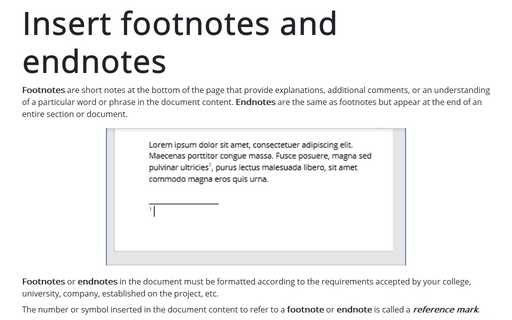
When you insert a footnote in a document, you can only choose two options:

- Bottom of page (used by default)
- Below text – if there is a space between text and a bottom margin on the page, it can be placed right after text.
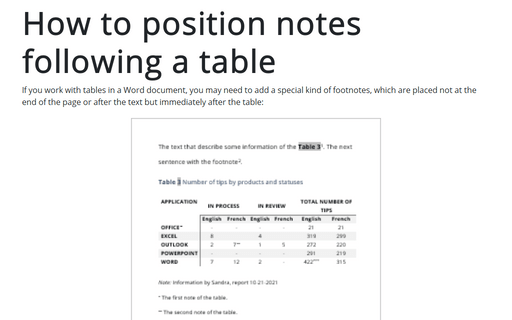
So, you may have a problem with the table notes location even using the Below text option if there is some text after the table.
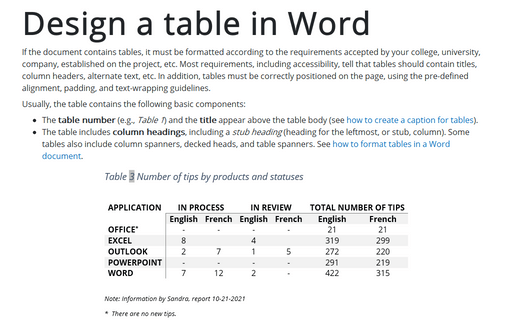
Another problem when working with footnotes in a table is that the tables notes should have a different numbering (sometimes a way different numberings are used, such as numbers and asterisks), not through the page, as suggested by Word.
Position notes following a table – workaround
This method is faster and more convenient but only works for documents that don’t contain endnotes but may contain footnotes. Another point for this method is adding only one numbered or bulleted list of notes for the table. It does not work if you need to add more different types of notes to the table. If these restrictions are impossible to meet, you can add notes manually.
To position the note right after the table, do the following:
1. Add the section break before and after the table to see the table exactly in its own section (see how to work with breaks in Word for more details):

2. Add the endnotes for the table:
2.1. Place the cursor where you want to insert the reference to the footnote or endnote.
2.2. On the References tab, in the Footnotes group, click the dialog box launcher:

2.3. In the Footnote and Endnote dialog box:
- In the Location section, select the Endnote and choose End of section from the dropdown list:

- In the Format section, do one of the following:
- Select the number format you need. For example, the a, b, c, ... list:

- Type the Custom mark or select it by clicking the Symbol... button to open the Symbol dialog box. For example, using the asterisks:

- Optionally, choose the Restart each section option from the Numbering dropdown list.
- Select the number format you need. For example, the a, b, c, ... list:
3. Remove the Endnote Separator Line (see how to remove it).
4. Make any other changes to the Endnote Text style or the Endnote reference style (see how to change the notes style for more details).


