How to create an organizational chart with two or more connection lines
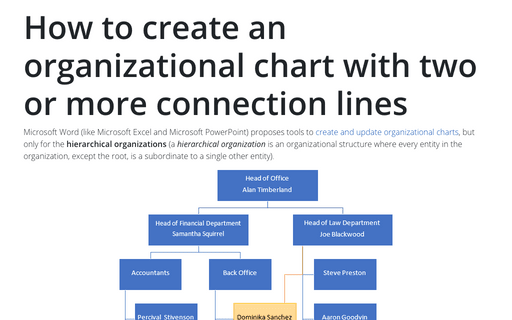
There are a lot of other types of organizational structures, and you may need to create an organizational chart with one or several shapes that have multiple connected shapes:

If you need to create an organizational diagram with two or more connection lines for the entity, you can:
- Use the standard shapes and create your organization graph from scratch (see How to create a flowchart in Word),
- Create the pre-defined SmartArt organizational chart, and, in the end, convert it to the standard shapes and add additional connections:
I. Create a SmartArt organizational chart
For example, the simple one:

II. Convert created SmartArt to the shapes
1. Prepare the place for the shapes (you can skip these steps, but using the drawing canvas will make it easier and faster to make various changes, such as resizing, modifying):
1.1. Place the cursor where you want to paste the selected shapes.
1.2. On the Insert tab, in the Illustrations group, click Shapes:

1.3. On the Shapes list, click New Drawing Canvas:
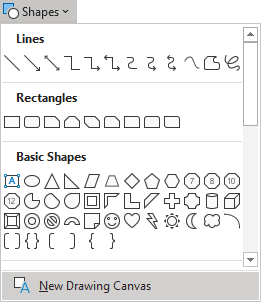
Word adds the new drawing canvas for the shapes:

1.4. Resize the added drawing:
1.4.1. Select the SmartArt and check its sizes on the SmartArt Format tab, in the Size group:
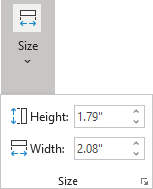
1.4.2. Select the drawing canvas and make its sizes bigger or similar on the Shape Format tab, in the Size group.
2. Select all or some shapes in the SmartArt graphic.
Notes:
- To select all objects, press Ctrl+A.
- To select several different shapes, hold Ctrl, and select each shape. If you select just some shapes, don't forget about connectors (connection lines).
For example:

3. Copy the selected shapes to the Clipboard by clicking the Copy button on the Home tab, in the Clipboard group (or press Ctrl+C).
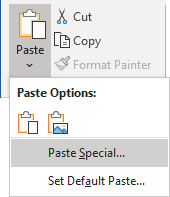
4. On the Home tab, in the Clipboard group, click the Paste and then in the Paste dropdown list, select Paste Special...:
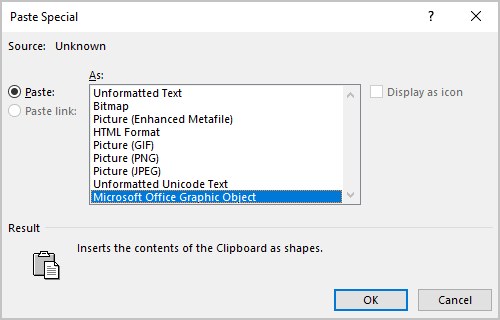
5. In the Paste Special dialog box, make sure that the option Microsoft Office Graphic Object is selected and click OK:
Word pastes the selected shapes to the drawing canvas:

III. Add additional connection lines
On the Insert tab, in the Illustrations group, click Shapes and then on the Shapes list, under Lines, select the connection line you prefer.
For example, Connector: Elbow:

Connect shapes you need, using the selected connector type.
See also this tip in French: Comment créer un organigramme avec deux ou plusieurs lignes de connexion.
