How to add the current heading text to the header or footer

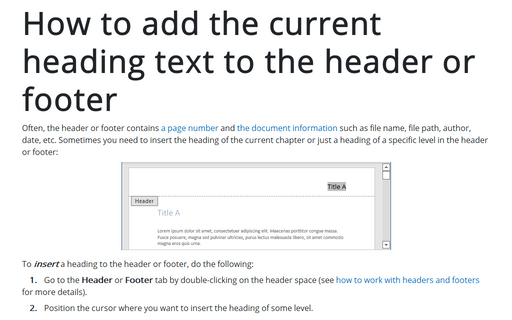
To insert a heading to the header or footer, do the following:
1. Go to the Header or Footer tab by double-clicking on the header space (see how to work with headers and footers for more details).
2. Position the cursor where you want to insert the heading of some level.
3. Do one of the following:
- On the Insert tab, in the Text group, click the Quick Parts button, then select Fields...:

or

- On the Header & Footer tab, in the Insert group, click the Quick Parts button, then select Field...:

4. In the Field dialog box:
- In the Field names list, select the StyleRef item,
- In the Style name list, choose the heading you need to be inserted at the current cursor position (for this example, Heading 1):

- Choose the Field options if needed. Some of the useful options:
- The Search from bottom of the page to top checkbox (the \l switch of the StyleRef field):
If there are more than one heading with the selected level on one page:
- By default, Word inserts the first one:

- If you need to insert the last heading on the page, select the Search from bottom of the page to top checkbox:

- The Insert paragraph number checkbox (the \n switch of the StyleRef field):
If you have numbered headings in the document, you can include just a heading's number shown in the document content instead of the full title. For example, the number of the Heading 2:

- If you have the text before numbering, for example, Section X.X. To see only the number without the prefix-word, select the Suppress all non-delimiter chars checkbox (the \t switch of the StyleRef field) with any of the selected checkboxes:
- Insert paragraph # in relative context (the \r switch of the StyleRef field)
- Insert paragraph # ai full context (the \w switch of the StyleRef field)
For example, for the Heading 2:

- The Search from bottom of the page to top checkbox (the \l switch of the StyleRef field):
Note: Word automatically updates the header or footer when the heading changes, moves, or removes.


