How to create a timeline in PowerPoint
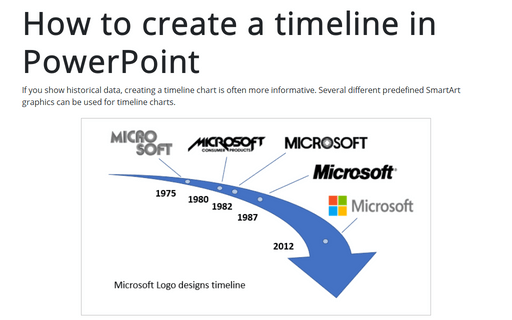
This tip shows simple steps for creating a simple and informative timeline using data for Microsoft logo design changes (see https://en.wikipedia.org/wiki/Microsoft#Logo).

You can use the similar predefined SmartArt graphic (see how to create a timeline using SmartArt):

To create a timeline chart like this one, do the following:
1. On the Insert tab, in the Illustrations group, select Shapes:

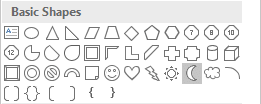
2. In the Shapes list, in the Basic Shapes group, choose the Moon shape:

3. Rotate the added shape: to do that, select shape and do one of the following:

- Using the rotation handle in the top of the selecting border:

- Under Drawing Tools, on the Format tab, in the Arrange group, select some
commands in the Rotate dropdown list:

4. Add the rectangle shape (from the same Basic Shapes group) and position it to hide the half of the moon shape:

5. Subtract the rectangle shape from the moon shape (see how to combine shapes to create a custom shape):

6. Add the arrow shape or the triangle shape to create an arrow:

7. Select both shapes and union them. Also, you can add new small round shapes to show the different distances between milestones in your timeline:

Note: Before adding milestone labels, group all objects for arrow (when you will add pictures for milestones, you may need to change arrow by stretching a bit or just moving).
8. For each milestone, do the following:
8.1. Add a shape from Callouts (on the Insert tab, in the Illustrations group, click the Shapes dropdown list):

In this example, it has been used Callout: Line with No Border:

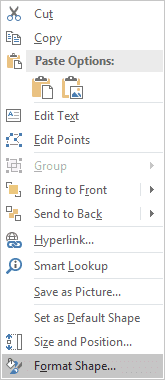
8.2. Right-click on the shape and choose Format Shape... in the popup menu:

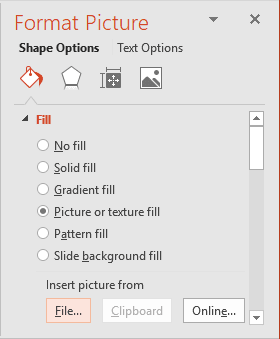
8.3. On the Format Shape pane, on the Shape Options tab, in the Fill & Line group, in the Fill group, select the Picture or texture fill checkbox and then click File... button (you can also use the picture from the Internet by clicking the Online... button):

8.4. Select the file for the appropriate picture.
8.5. Position the shape and line of the shape:

8.6. Add the text box with the year and positioning it to the appropriate milestone:

9. Add any other adjustments to your slide.
See also this tip in French: Comment créer une ligne du temps dans PowerPoint.

