How to create a cycle flow chart using four arrows in a circle
See also how to stress cyclic processes using two arrow circle diagram.

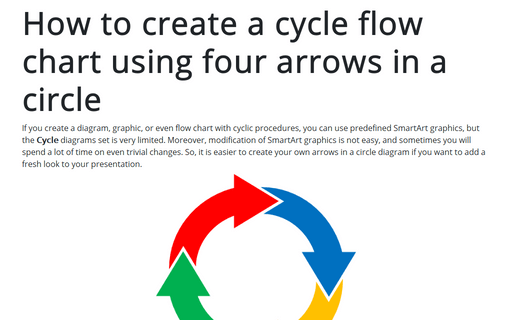
To create the picture like the one above, follow the next steps:
1. On the Insert tab, in the Illustrations group, select Shapes:

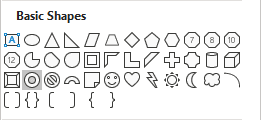
2. On the Shapes list, in the Block Arrows group, choose the Circle: Hollow shape:

For example:

3. After pasting this shape into your slide, change it like you want by using a yellow point, and then add an arrow or Isosceles triangle:

4. Copy the arrow or triangle three times (for example, by clicking Ctrl+D).
5. Positioning all arrows or triangles in the appropriate positions:

6. Rotate three arrows or triangles by doing one of the following:
- Using the rotation handle at the top of the selecting border:

- On the Shape Format tab, in the Arrange group, select some commands in the Rotate dropdown list:

For example, for the shape:
- in the top - select Rotate Right 90o
- on the right - select Flip Vertical
- in the bottom - select Rotate Left 90o.
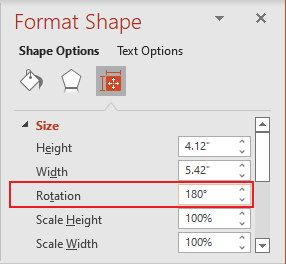
- On the Format Shape pane (to open the Format Shape pane, right-click on the shape and choose Format Shape... in the popup menu), on the Shape Options tab, in the Size & Properties group, in the Size section, choose or enter different volumes – 90o, 180o and 270o in the Rotation edit box:

After rotating, it should look like this:

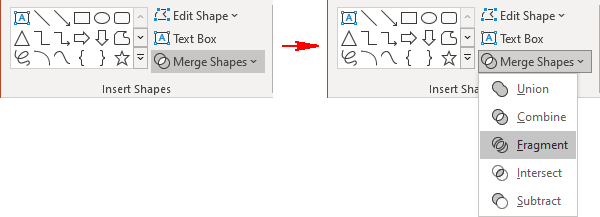
7. On the Shape Format tab, in the Insert Shapes group, choose the Merge Shapes dropdown list and then select Fragment:

You will see a lot of fragments:

8. Select parts then you really need for the first arrow:

9. On the Shape Format tab, in the Insert Shapes group, choose the Merge Shapes dropdown list and then select Union:

You will see the new circling arrow:

10. Repeat the previous two steps for the next three arrows, remove the last part (centered one) from fragmentation, and you will see the result that you can use in the presentation to highlight circling:

11. You can group these two arrows and format them like you want.
See also this tip in French: Comment créer un diagramme circulaire avec quatre flèches.

