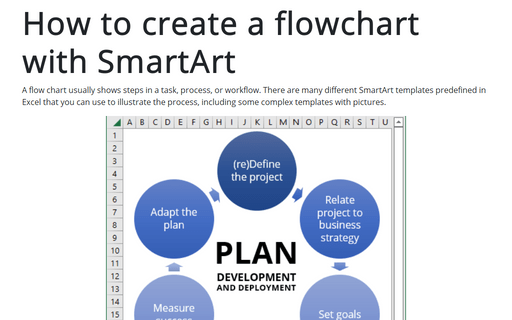
How to draw flowchart and swimlane flow chart in Excel
However, if you want to use different shapes and a complex topology, it is better to create your own flowchart.

Managers, system analysts, programmers, and engineers adopted flowcharts as a mean of communication for describing:
- Document workflows
- Data flows
- System operation flows
- Algorithms.
No wonder that building blocks and rules of flow charts were standardized by the American National Standards Institute (ANSI) and International Organization for Standards (ISO) more than 50 years ago. The current standard defines the drawing direction from top to bottom and left to right and specific symbols for different types of entities, actions, etc. E.g.:
| Rectangle with round corners marks for starting and terminating states | |
 |
Box with straight corners represents the process stages |
 |
Parallelogram illustrates data input/output |
 |
Diamond marks conditional branching |
| Arrow shows the process flow |
All these and other useful visual elements you can find in the Shapes dropdown list of the Insert tab in Excel.
To create a flowchart like the one above, follow the following steps (we recommend to see how to change width of gridlines in Excel and easily organize shapes in Excel, which simplify drawing):
1. On the Insert tab, in the Illustrations group, select Shapes:

2. On the Shapes list, in the Flowchart group, choose the item that you prefer:

3. To add text in the selected shape, just double-click in it and enter the text.
4. To connect shapes, do the following:
- On the Insert tab, in the Illustrations group, click on the Shapes list and
then select one of the connectors in the Lines group:

- Select the beginning point in a border of the first shape and the ending point in a border of the
second shape:

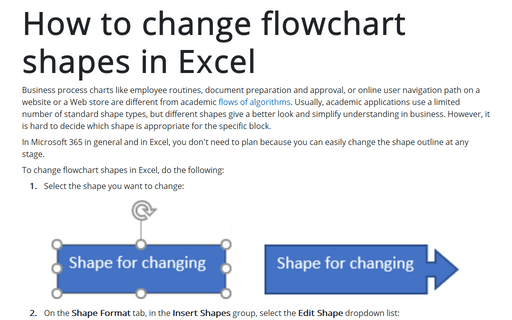
For customizations of shapes and connectors, see how to change format for diagram shapes in Excel and how to change flowchart shapes in Excel or how to change connector type for the flowchart.
See also this tip in French: Comment créer un organigramme des opérations dans Excel.


